Roof flashing is an essential part of roofing it guides water from sensitive spots like chimneys vents and where sections meet. It comes in various types, including step, continuous, and valley flashing, each serving specific functions to prevent leaks and protect a home’s structure. Proper installation is vital for maintaining a watertight seal. Checking and taking care of the flashing frequently can make it work better & help the roof last longer. Discover more about the types and installation techniques to ensure optimal protection.
Key Takeaways
- Roof flashing is a material that directs water away from critical areas of the roof to prevent leaks and structural damage.
- Different types of flashing, such as step and valley flashing, serve specific purposes to protect various roof intersections.
- Proper installation of flashing maintains a watertight seal, channeling water away from chimneys, vents, and valleys.
- Regular inspection and maintenance of flashing enhance the roof’s longevity and integrity against water intrusion.
- Materials like aluminum and copper provide durability and resistance to corrosion, ensuring effective protection for your home.
Understanding What Is Roof Flashing

Although many homeowners may overlook it, roof flashing plays a crucial role in protecting a house from water damage. Essentially, roof flashing is a material, often metal, designed to direct water away from critical areas of the roof, such as chimneys, vents, and valleys.
Its primary purpose is to prevent water intrusion, which can lead to leaks and structural damage over time. Different roof flashing types exist, including step flashing, continuous flashing, and collar flashing, each serving specific needs and locations on the roof.
Step flashing is typically used around chimneys, while continuous flashing is ideal for roof-to-wall intersections. Understanding what is roof flashing is essential for homeowners, as it enables them to identify potential vulnerabilities in their roofing system.
Regular inspection and maintenance of flashing can significantly enhance the longevity and integrity of a roof, safeguarding the home against costly water damage.
Exploring Different Types of Flashing for Roofs

Understanding the different types of flashing is vital for homeowners looking to maintain a watertight roof. Flashing serves as a protective barrier against water intrusion, directing moisture away from vulnerable areas.
Common types include chimney flashing, which seals the junction between the chimney and roof; valley flashing, designed for roof valleys where two slopes meet; and vent pipe flashing, which surrounds plumbing vents. Each type plays a specific role in safeguarding the home.
Furthermore, step flashing is used along walls and roof intersections, while continuous flashing provides a longer, unbroken seal. Recognizing these different types of flashing for roofs helps homeowners identify potential weaknesses and plan for necessary repairs.
Understanding their functions also raises awareness about how does flashing work to mitigate leaks, ensuring that the roof remains effective in protecting the home from water damage. Proper installation and maintenance of these flashings are essential for long-term roof integrity.
How Does Flashing Work to Prevent Leaks
Flashing serves as a crucial defense against water intrusion, effectively directing moisture away from vulnerable areas of the roof. By channeling water away from chimneys, vents, and valleys, flashing helps maintain a watertight seal, thus preventing leaks that could lead to significant damage and costly repairs.
| Vulnerable Area | Flashing Type | Importance |
| Chimney | Step flashing | Directs water away from joints |
| Valleys | Valley flashing | Channels water to gutters |
| Vents | Vent pipe flashing | Protects seams from leaks |
| Skylights | Curb flashing | Ensures watertight integrity |
| Roof Edges | Drip edges | Prevents water from seeping in |
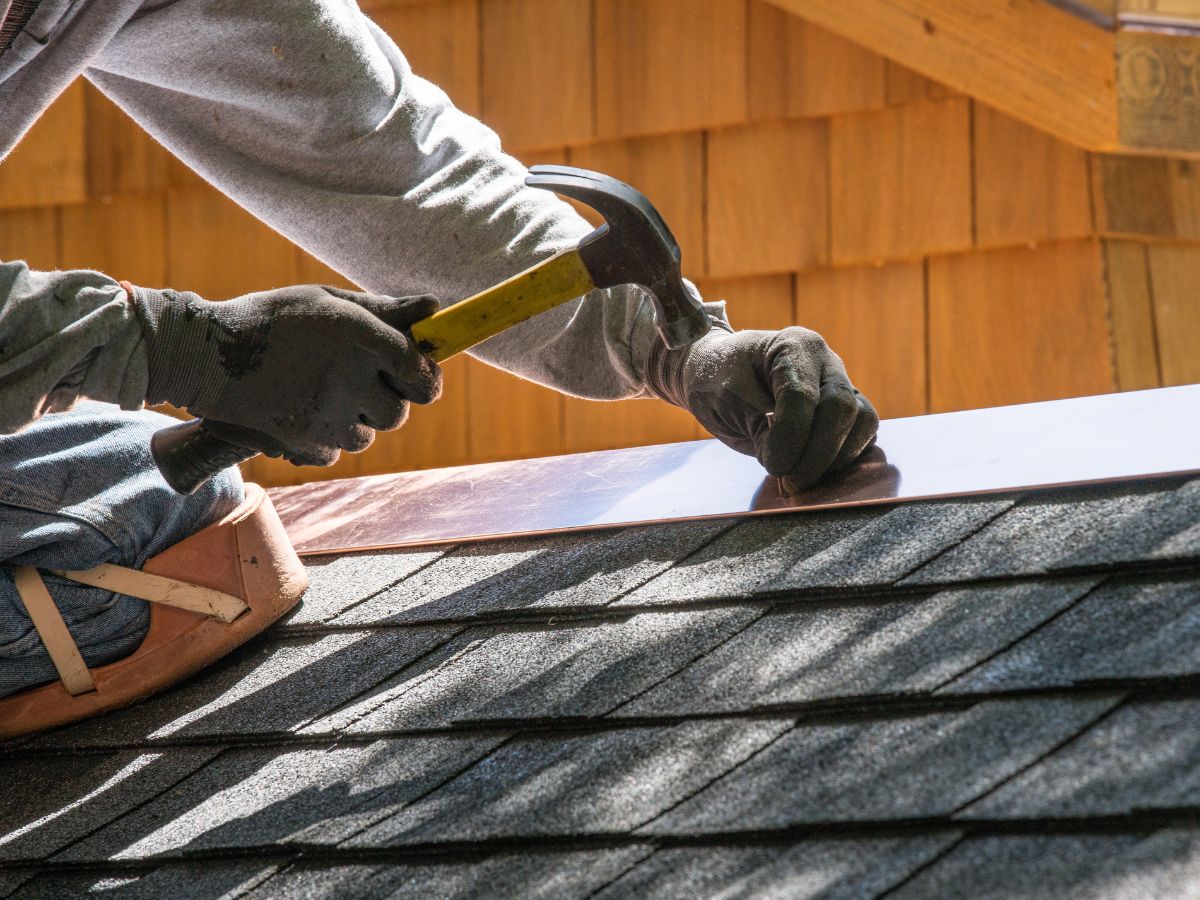
Understanding how to install roof flashing, especially on a metal roof, is essential for homeowners seeking to protect their investment and ensure longevity. Proper installation is key to effective leak prevention.
Steps on How to Install Flashing Under Siding For Maximum Protection
Properly installing flashing under siding is essential for safeguarding a home against water damage. Homeowners seeking to understand how to install flashing under siding should follow these critical steps:
- Prepare the Area: Remove any existing siding and ensure the sheathing is clean and dry.
- Cut the Flashing: Measure and cut the flashing material to fit along the base of windows and doors, ensuring it overlaps with the siding.
- Install the Flashing: Secure the flashing in place using nails or adhesive, ensuring that it directs water away from vulnerable areas.
These steps help create a barrier that prevents moisture intrusion.
Additionally, proper sealing and overlapping techniques enhance the effectiveness of the flashing.
Guide on How to Install Roof Flashing on Different Roof Types

Installing roof flashing is a critical step in ensuring the longevity and integrity of a home’s roof. This process varies depending on the roof type.
For asphalt shingle roofs, flashing should be installed around chimneys and vents, using a combination of step flashing and continuous flashing to create a watertight seal.
Metal roofs, on the other hand, require interlocking flashing to accommodate the roof panels’ movement while redirecting water. Understanding how to install roof flashing on metal roof systems involves carefully aligning the flashing with panel seams and using sealants and fasteners approved by the manufacturer.
For flat roofs, a simple curb flashing method is effective, where the flashing is secured with adhesive and properly sealed to prevent water pooling.
Additionally, for tile roofs, it is essential to fit the flashing under the tiles and ensure it directs water away from vulnerable areas.
Each roof type necessitates specific techniques and materials, highlighting the importance of following manufacturer guidelines and potentially consulting professionals for optimal installation.
Roof Flashing Types Used for Leak Prevention and Durability

Understanding the various types of roof flashing is essential for homeowners aiming to prevent leaks and enhance the durability of their roofs. Different materials and designs serve specific purposes in safeguarding vulnerable areas.
The following types of roof flashing are commonly utilized:
- Aluminum Flashing: Lightweight and resistant to corrosion, it is often used around chimneys and vents.
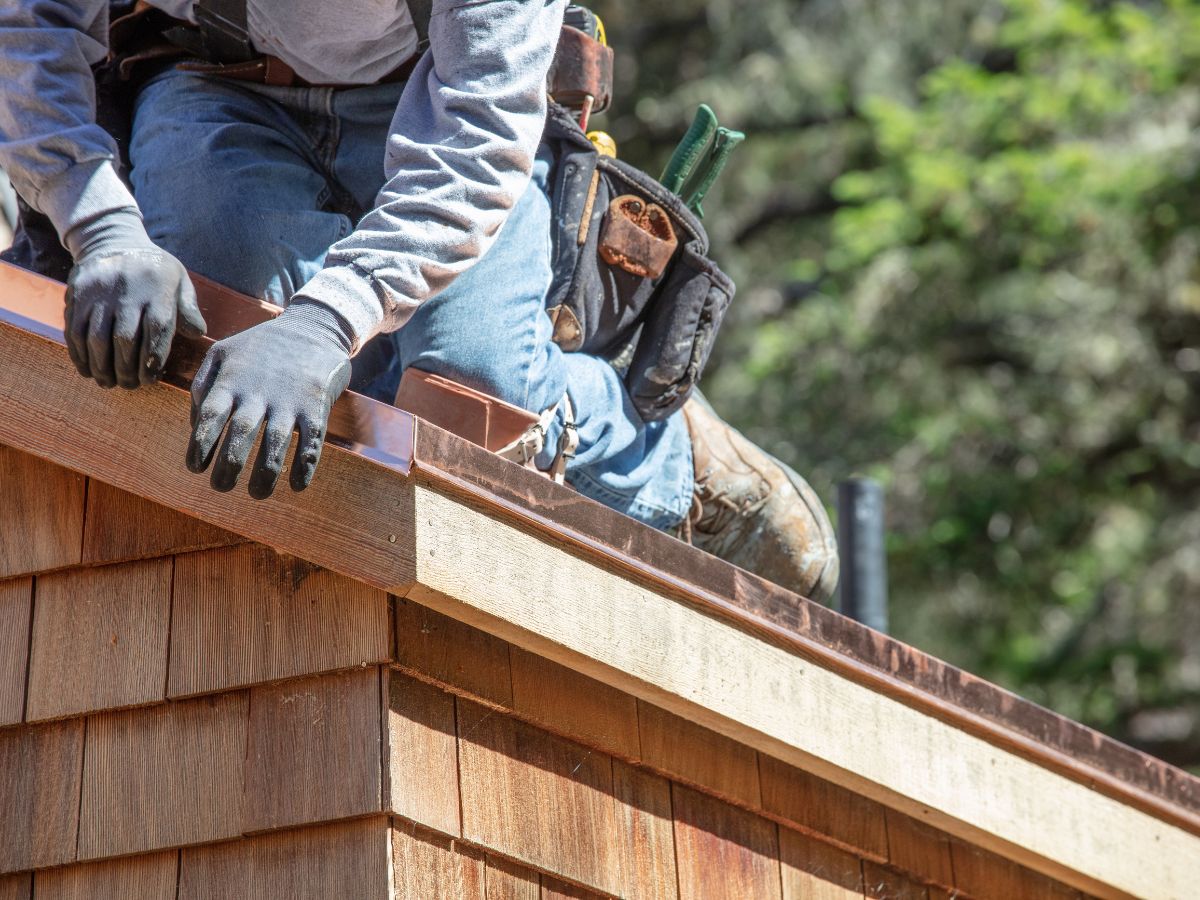
- Copper Flashing: Known for its longevity and aesthetic appeal, copper flashing develops a protective patina over time, making it ideal for decorative areas.
- Rubberized Asphalt Flashing: Flexible and water-resistant, this type is particularly effective in low-slope roofs and around penetrations.
Each type of flashing plays a critical role in directing water away from crucial areas, thereby preventing leaks and promoting structural integrity.
Homeowners should consider these options carefully when planning or maintaining their roofs to ensure optimal protection against water intrusion.
Frequently Asked Questions (FAQ)
How often should roof flashing be inspected or replaced?
Roof flashing should be inspected at least once a year and after major storms. Regular checks help catch early signs of wear, rust, or detachment that can lead to leaks. If damage or corrosion is found, flashing should be repaired or replaced promptly to maintain a watertight seal and avoid structural issues.
What materials are best for roof flashing?
The best materials for roof flashing include aluminum, copper, and rubberized asphalt.
- Aluminum is lightweight and corrosion-resistant, making it a popular choice.
- Copper offers exceptional durability and a long lifespan, plus it develops a protective patina over time.
- Rubberized asphalt is flexible and water-resistant, ideal for complex roof penetrations or low-slope areas.
How do I know if my roof flashing is failing?
Common signs of failing flashing include water stains on ceilings, rust or corrosion, loose or missing flashing sections, and visible gaps or warping around roof penetrations like chimneys or vents. If you notice mold or dark streaks near these areas, it may indicate water intrusion caused by flashing failure.
Can damaged flashing lead to mold or structural issues?
Yes. Damaged or improperly installed flashing can allow water to seep into your home, leading to mold growth, wood rot, and structural damage over time. Flashing is a key defense against leaks, so keeping it intact is essential for protecting your home’s integrity.
Final Thoughts
Roof flashing is a critical component in protecting your home from water damage, especially around roof intersections, vents, and chimneys. Understanding the different types of flashing and proper installation methods can help prevent costly leaks and extend your roof’s life. Regular inspections and maintenance—paired with quality materials like aluminum or copper—ensure a watertight seal and long-term durability. Whether you’re planning new flashing or upgrading an existing system, trust the professionals at Kevin Phillips Roofing to provide expert solutions that protect your investment. Contact us today to schedule your inspection or consultation.