What is a drip edge? A drip edge is a critical roofing element that directs water runoff into gutters, preventing moisture from infiltrating under roofing materials. The metal strips placed on roof borders protect the roof’s life and keep the house strong by guarding the materials underneath from harm. Signs such as rust or water stains may indicate the need for a replacement. Investigating deeper may uncover additional information regarding the advantages and varieties of drip edges for different roofing setups.
Key Takeaways
- A drip edge is metal flashing installed along roof edges to channel water into gutters, preventing leaks and water damage.
- It safeguards roofing materials by preventing water from seeping underneath, thus extending the roof’s lifespan.
- Drip edges improve drainage efficiency, directing water away from the roof edges and minimizing moisture accumulation.
- Different types, including L-style and T-style, cater to various drainage needs based on rainfall intensity and aesthetic preferences.
- Signs of a failing drip edge include rust, corrosion, and water damage, indicating the need for replacement to maintain roof protection.
Understanding What Is a Drip Edge for Roofing System
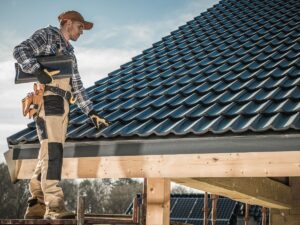
A drip edge is an essential part of a roof. It prevents water from damaging the building. A metal strip is placed on the roof’s edges. Its purpose is to guide water away from the fascia board & into the gutters. This prevents water from seeping under roofing materials, which can lead to deterioration and costly repairs.
Understanding what a drip edge is essential for homeowners looking to maintain their roofs effectively.
Drip edges come in different shapes like L-shaped T-shaped, and adjustable varieties. While their designs vary, they all serve the same basic function.
Installing the drip edge correctly makes sure water flows away from the roof and foundation. This allows for good drainage. This crucial element not only extends the lifespan of the roof but also safeguards the overall integrity of the home, making it an indispensable feature for effective roof protection.
How to Install Drip Edge on a New Roof
Proper installation of a drip edge on a new roof is crucial for ensuring optimal water management and protection against potential damage.
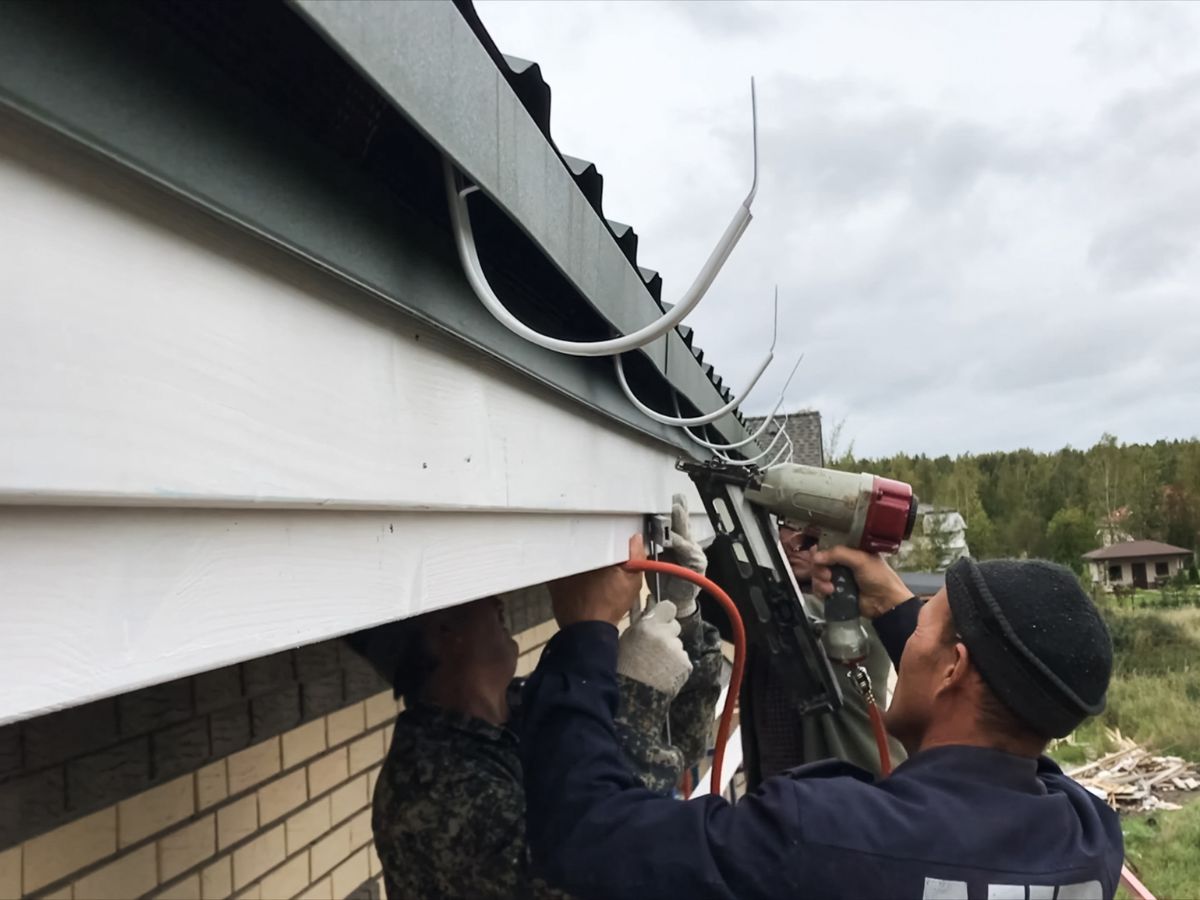
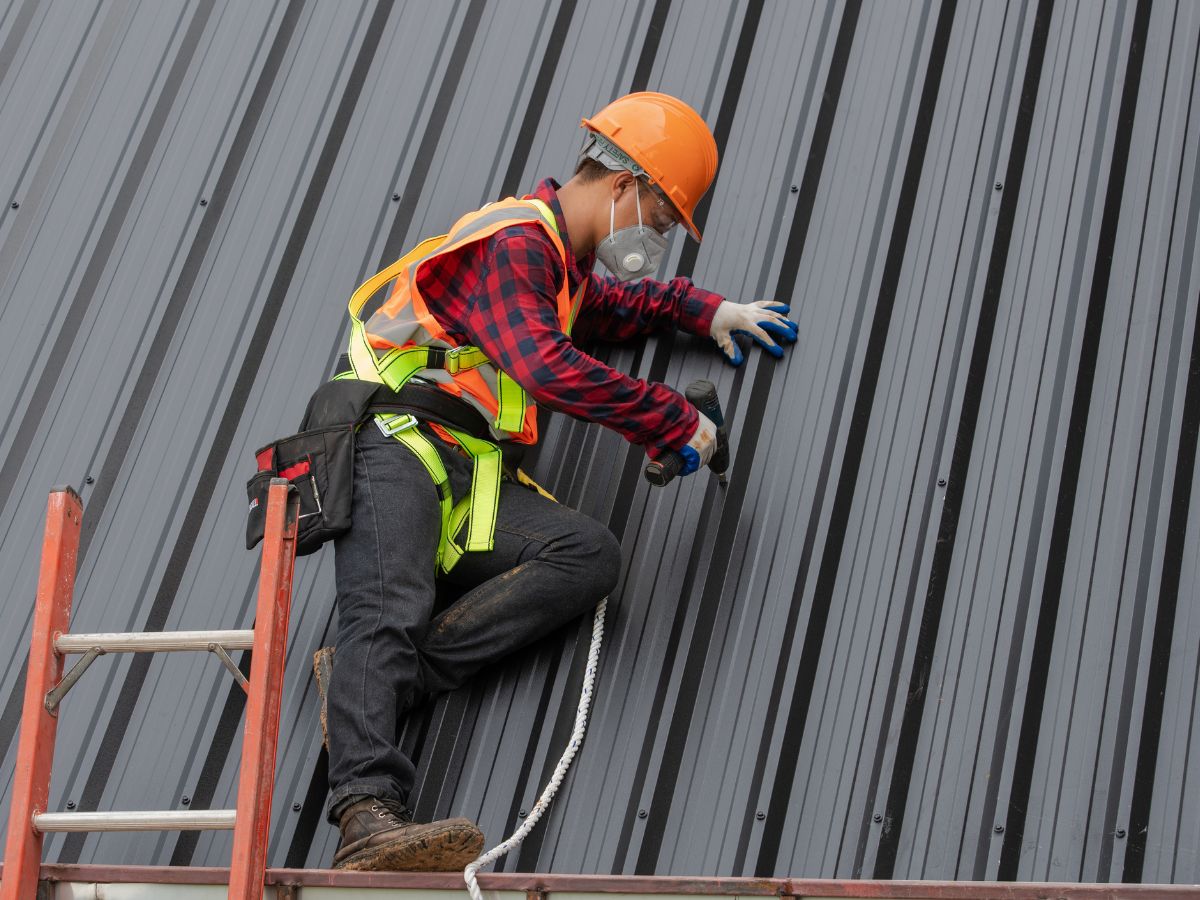
To begin, the installer should measure the roof’s edges and cut the drip edge material accordingly. Next, the drip edge is positioned so that it extends past the roof sheathing and is aligned with the eaves. It is essential to secure the drip edge using roofing nails, placing them every 12 to 18 inches along the edge to prevent lifting.
After securing the drip edge, installation of the underlayment or roofing material can proceed, ensuring it overlaps the drip edge for effective water runoff.
Homeowners should understand the importance of correctly installing drip edge on a new roof, as improper installation can lead to water infiltration.
For those interested in maintaining their roof, learning how to install drip edge on existing roof can also enhance drainage and protection.
Installing Drip Edge on Existing Roof for Better Water Protection
While many homeowners may overlook the importance of drip edges, installing drip edge on existing roof structures can significantly enhance water protection.
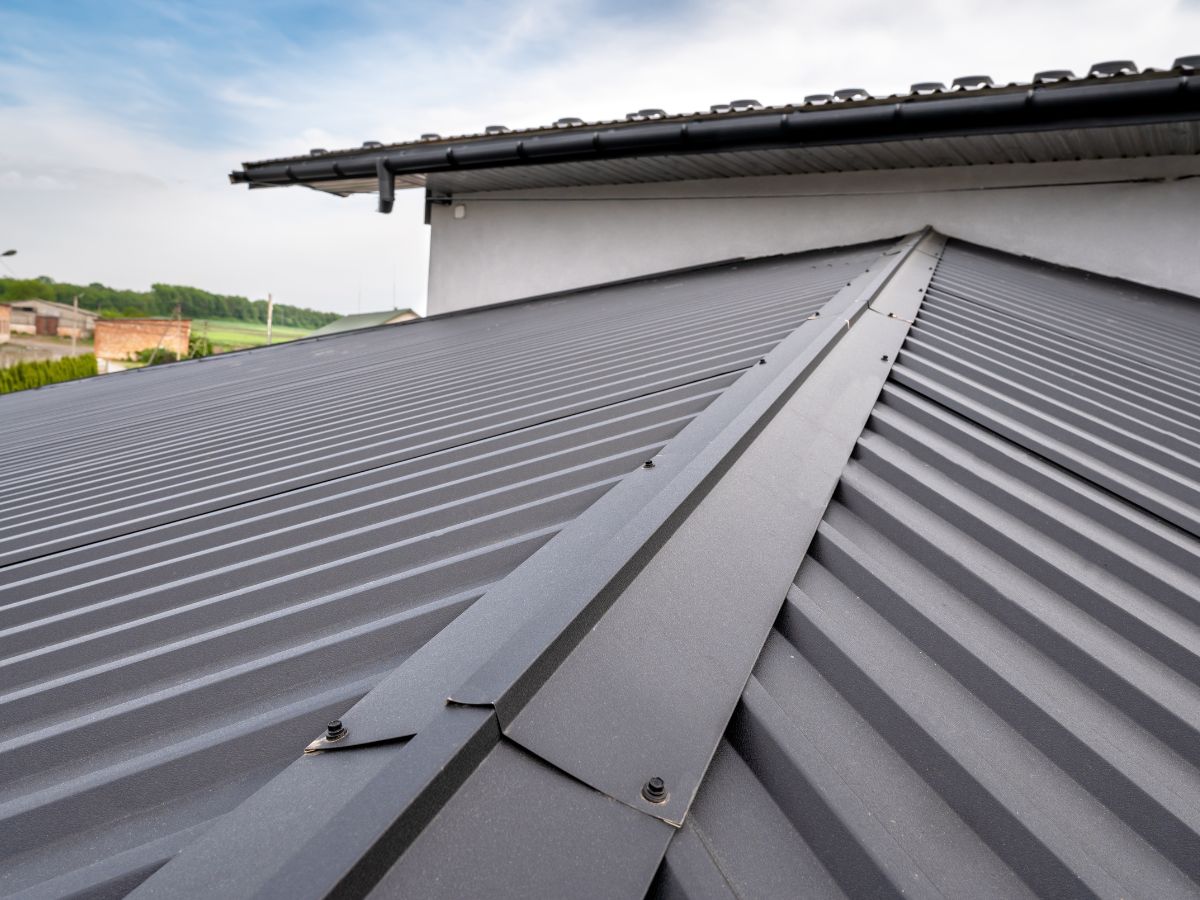
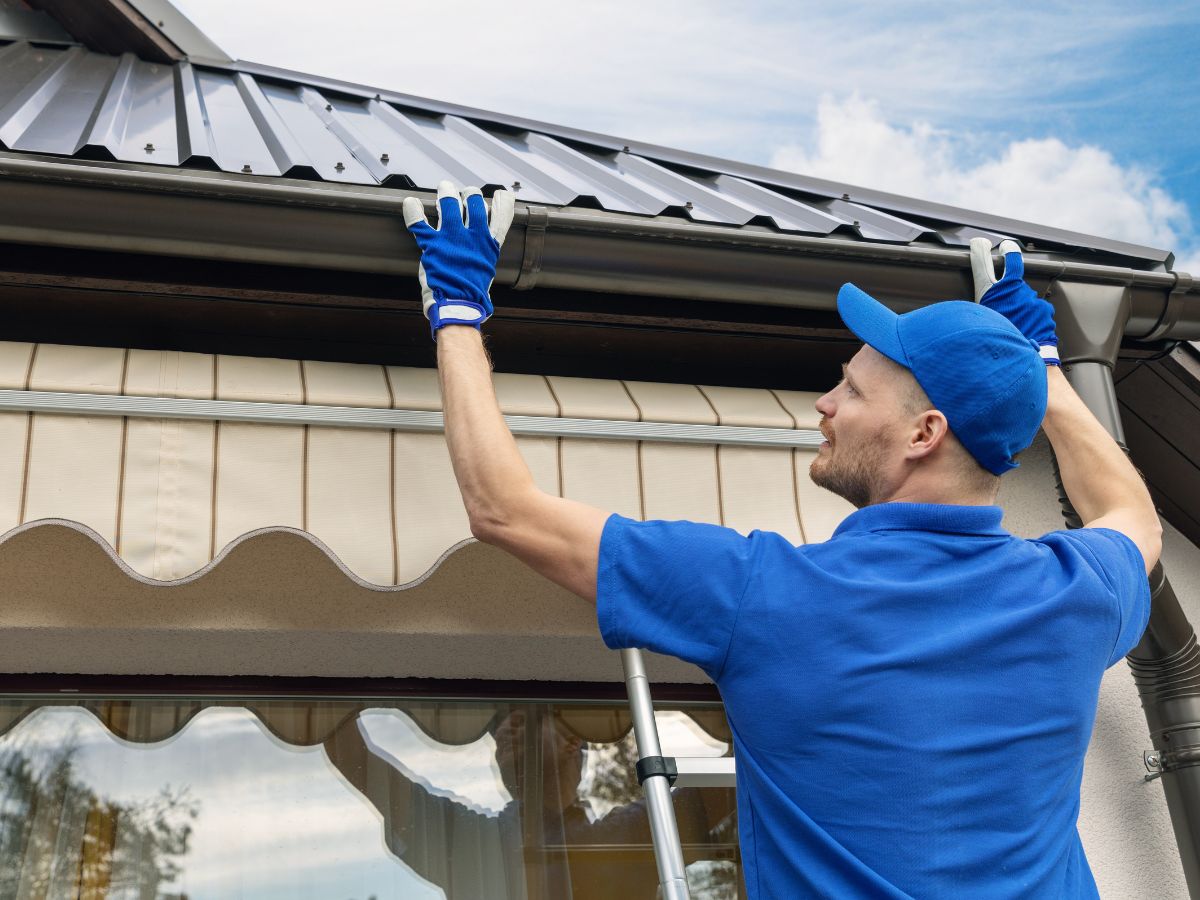
Drip edges are metal flashings installed along the roof’s edges to direct water away from the fascia and underlying materials. For those considering this upgrade, understanding how to install drip edge on metal roof systems is crucial. The process typically involves carefully positioning the drip edge beneath the metal panels at the eaves, securing it with appropriate fasteners, and ensuring proper overlap for effective water runoff.
Putting drip edge on a roof not only prevents water from seeping underneath but also protects the roof structure from rot and mold.
Homeowners should consult roofing professionals for precise installation, ensuring optimal performance and longevity. By taking this proactive step, they can safeguard their investment and improve their roof’s overall durability against the elements.
Putting Drip Edge on Roof to Protect Against Water Damage
Putting drip edge on roof surfaces serves as a vital defense against water damage. This metal flashing, positioned along the roof’s edges, is designed to channel water away from the underlying roof structure and into the gutters. By doing so, it helps prevent pooling and infiltration that can lead to extensive damage over time.
The following table outlines the benefits of installing a drip edge:
| Benefit | Description | Result |
| Water Diversion | Redirects water away from roof edges | Reduces leaks and water damage |
| Structural Protection | Shields underlying materials from moisture | Extends roof lifespan |
| Enhanced Drainage | Aids in effective water runoff | Promotes efficient drainage |
| Mold Prevention | Minimizes moisture accumulation | Decreases mold growth potential |
| Cost Efficiency | Reduces long-term repair costs | Saves money on future repairs |
Incorporating a drip edge is essential for maintaining a healthy roofing system.
Common Types of Drip Edges and Their Applications
Drip edges come in various types, each designed to meet specific roofing needs and applications. Understanding these types can help homeowners select the right option for their roofs.
- L-Style Drip Edge: This is the most common type, featuring a simple L shape that directs water away from the fascia and into the gutters. It is ideal for standard roofing installations.
- T-Style Drip Edge: This style has a taller vertical section, providing additional protection against wind-driven rain. Often used in areas with heavy rainfall, it ensures effective drainage.
- C-Style Drip Edge: Similar to the L-style but with a curved design, this type offers an aesthetic appeal while still efficiently directing water away from vulnerable roof edges.
Choosing the appropriate drip edge is crucial for enhancing roof longevity and preventing water damage.
Homeowners should consult roofing professionals for tailored recommendations based on their local climate and roofing materials.
Signs Your Drip Edge Needs Replacement
Understanding the types of drip edges helps homeowners appreciate their role in roof protection, but recognizing when these components need replacement is equally important. Several signs indicate that a drip edge may need to be replaced.
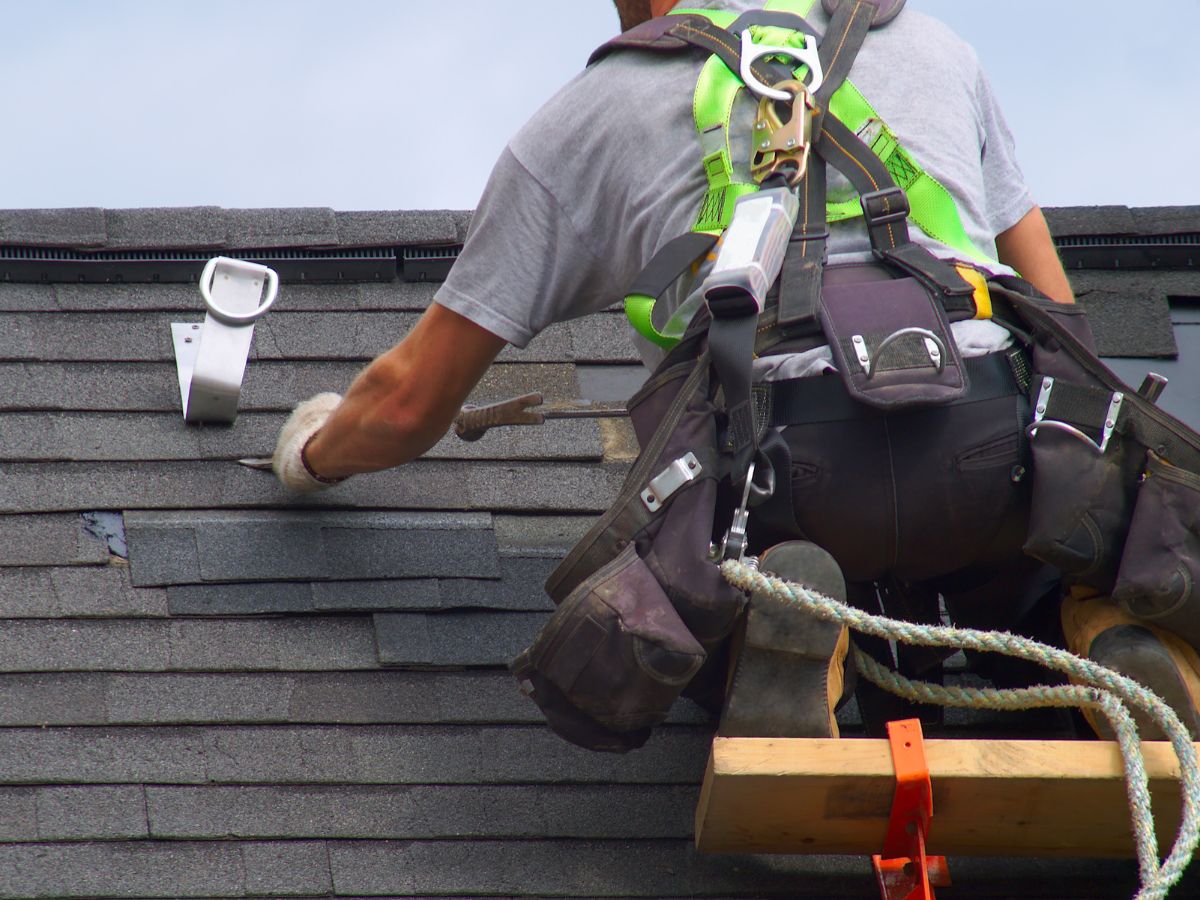
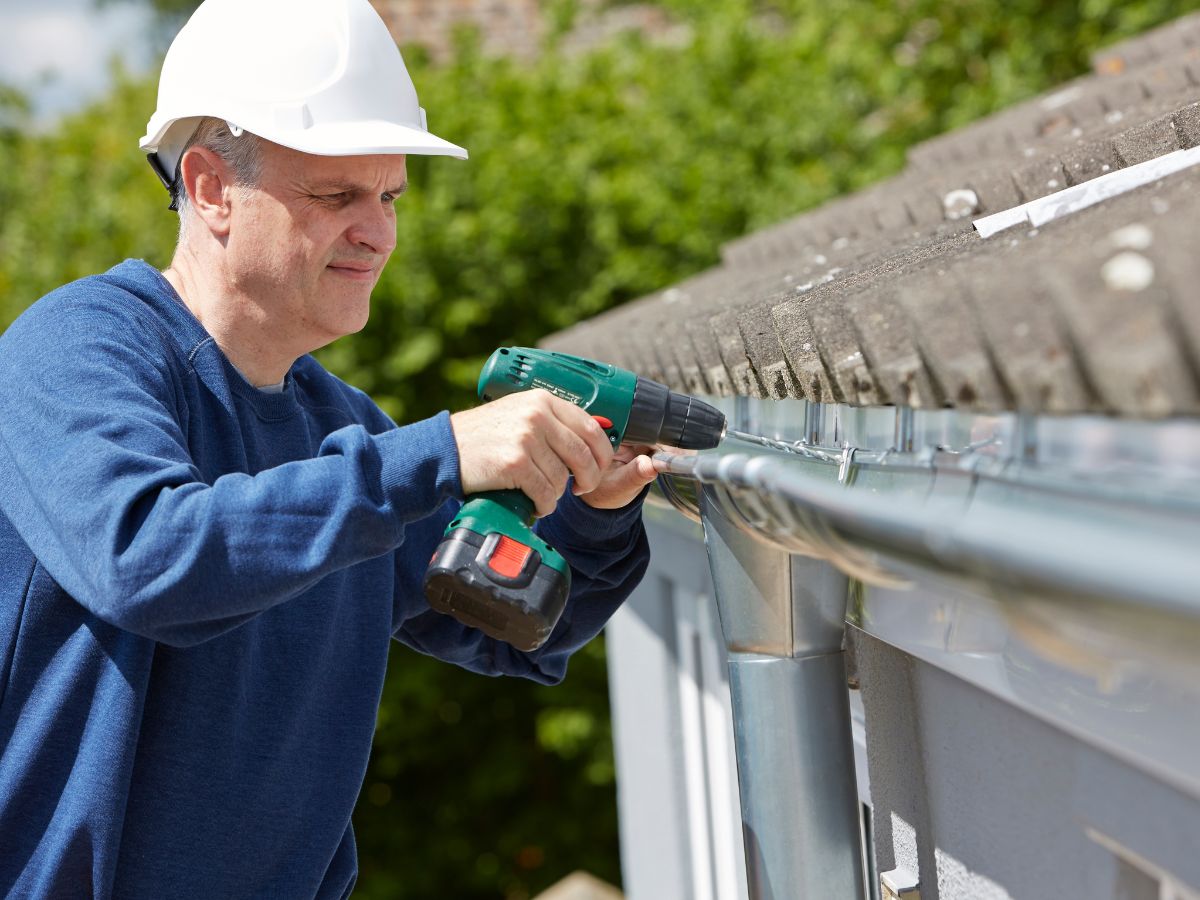
First, homeowners should look for rust or corrosion, which can compromise its effectiveness. Additionally, if the drip edge is bent or damaged, it may no longer direct water away from the roof structure properly.
Signs of water damage, such as mold or rot on the fascia boards or soffits, can also signal a failing drip edge. Gaps or misalignment between the drip edge and shingles are further indications that replacement is necessary.
Lastly, if the roof is nearing the end of its lifespan, it may be prudent to inspect the drip edge for wear and tear. Regular inspections and timely replacements can significantly enhance roof protection and longevity.
Frequently Asked Questions (FAQ)
What materials are commonly used for drip edges?
Drip edges are typically made from galvanized steel, aluminum, or copper.
- Galvanized steel offers strength and durability at a lower cost.
- Aluminum is lightweight, rust-resistant, and easy to install.
- Copper provides premium durability and aesthetic appeal, often used in high-end or historical roofing projects.
Each material is designed to resist corrosion and effectively direct water away from the roof’s edges.
What are the consequences of not having a drip edge on my roof?
Without a drip edge, water can seep under shingles, damage fascia boards, and cause rot, mold, or structural issues. It can also lead to inefficient gutter drainage and increase the risk of long-term roof deterioration. A properly installed drip edge helps prevent these problems by directing water safely into gutters.
Can I install a drip edge myself, or should I hire a professional?
While it’s possible to install a drip edge as a DIY project, it’s recommended to hire a roofing professional—especially for existing roofs or metal roof systems. Professionals ensure proper placement, secure fastening, and correct overlap, all of which are critical for preventing water infiltration and maximizing the roof’s lifespan.
How often should I inspect or replace my roof’s drip edge?
Drip edges should be inspected at least once a year, especially before and after storm seasons. Look for signs of rust, bending, misalignment, or water damage to fascia boards. Replacement is typically only needed if visible damage, corrosion, or leaks are present—or when replacing the roof itself.
Final Thoughts
A drip edge is more than just a finishing touch—it’s a vital line of defense that safeguards your roof from water intrusion and structural damage. Whether you’re installing a new roof or updating an existing one, selecting the right type of drip edge and ensuring proper installation are key to extending your roof’s lifespan and enhancing drainage. As you consider the best roofing materials for your home or evaluate whether to repair or replace, don’t overlook this essential component. Regular inspections and proactive attention to signs of wear—like rust, gaps, or misalignment—can help prevent long-term issues. Trust the experts at Kevin Phillips Roofing to help you make informed decisions and maintain a durable, watertight roof. Contact us today to schedule your inspection or consultation.